Net8 Local Development Without Docker In Saas Commerce
- Mark Hall
- Optimizely
- April 8, 2026
Introduction
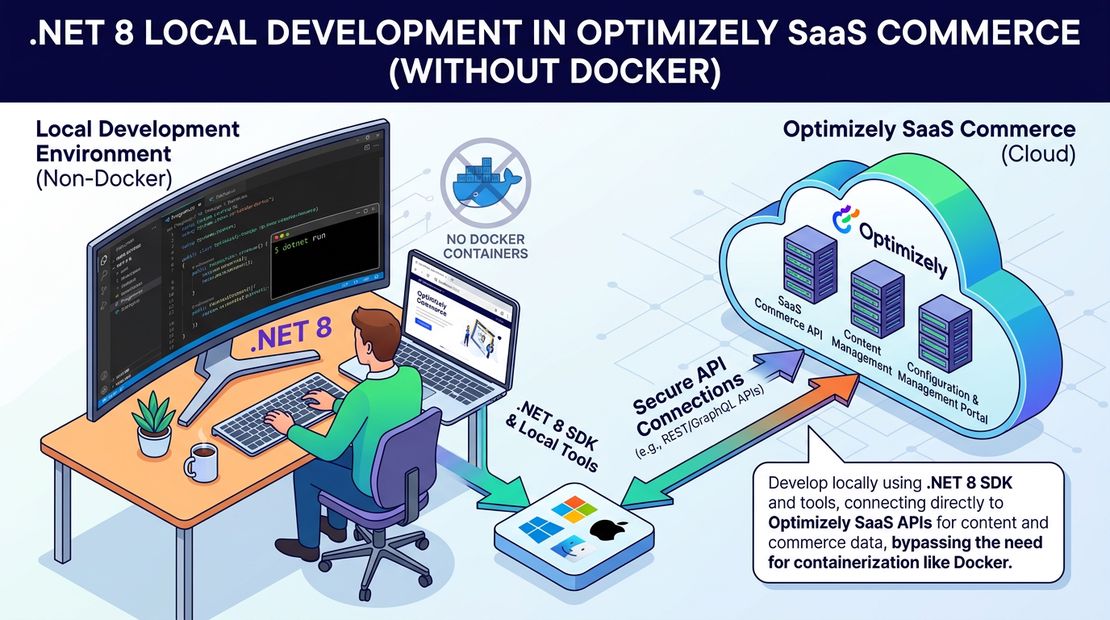
Now that Optimizely SaaS (Configured) Commerce has released net 8 support and updated their infrastructure to run on linux, we are starting to move some of our clients to .net 8 and linux hosting. This means we will need to be able to run .net 8 version locally, which according to offical docs requires docker desktop. While I love docker for creating images for deployed services, I hate using it locally because it consumes alot of diskspace, memory, as well as docker desktop no longer being free. This post will guide you on you can run locally .net 8 without using docker.
Setting up the .net 8 Solution
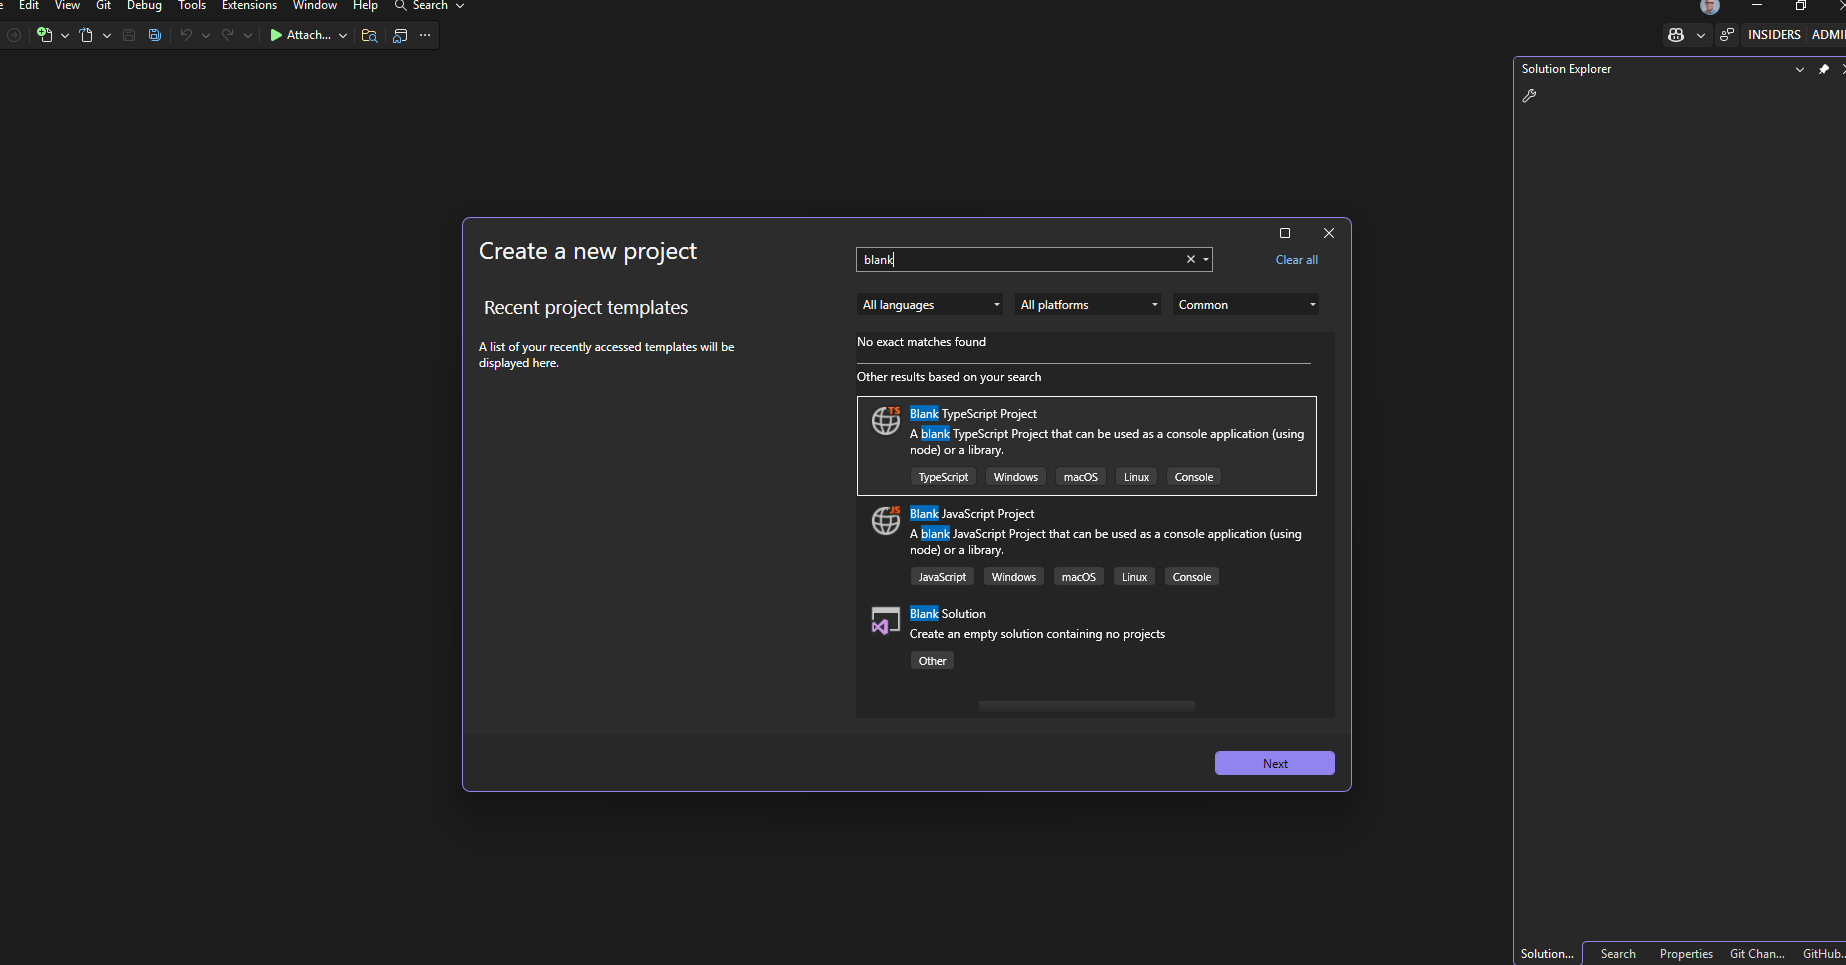
- Open up visual studio and create a new blank solution
Client.Local.slnat the root of the repository. Sometimes will create a folder name and then add the solution. Just close the solution and move the file to the correct location and reopen before adding the existing projects in the step below.
- Add the following existing project
src/Extensions/Extensions.csproj - Add the following existing project
tools/DatabaseUpdater/DatabaseUpdater.csproj - Add the following existing project
src/Admin.Api/Admin.Api.csproj - Add the following existing project
src/Storefront.Api/Storefront.Api.csproj - Add the following existing project
src/Integration.Api/Integration.Api.csproj - Update the
src/Extensions/Extensions.csprojto below
<Project Sdk="Microsoft.NET.Sdk">
	<PropertyGroup>
		<TargetFrameworks>net8.0</TargetFrameworks>
		<OutputType>Library</OutputType>
		<OutputPath>bin\</OutputPath>
		<Nullable>disable</Nullable>
	</PropertyGroup>
	<ItemGroup>
		<FrameworkReference Include="Microsoft.AspNetCore.App" />
		<PackageReference Include="Insite.Commerce.Public" />
		<Compile Remove="Properties\AssemblyInfo.cs" />
	</ItemGroup>
	<Target Name="EmbedViews" AfterTargets="BeforeBuild">
		<ItemGroup>
			<EmbeddedResource Include="**\*.cshtml" />
		</ItemGroup>
	</Target>
</Project>
- Update the
tools/DatabaseUpdater/DatabaseUpdater.csprojto below
<Project Sdk="Microsoft.NET.Sdk">
	<PropertyGroup>
		<OutputType>Exe</OutputType>
		<OutputPath>bin/$(Configuration)</OutputPath>
		<GenerateAssemblyInfo>false</GenerateAssemblyInfo>
		<TargetFrameworks Condition=" '$(OS)' == 'Windows_NT' ">net8.0</TargetFrameworks>
		<TargetFrameworks Condition=" '$(OS)' == 'Unix' ">net8.0</TargetFrameworks>
		<EnableUnsafeBinaryFormatterSerialization>true</EnableUnsafeBinaryFormatterSerialization>
		<LangVersion>12.0</LangVersion>
	</PropertyGroup>
	<ItemGroup>
		<PackageReference Include="Insite.Commerce.Public" VersionOverride="$(VersionNumber)" />
		<PackageReference Include="Insite.Commerce.Private" VersionOverride="$(VersionNumber)" />
		<ProjectReference Include="..\..\src\Extensions\Extensions.csproj" />
		<None Update="log4net.config">
			<CopyToOutputDirectory>Always</CopyToOutputDirectory>
		</None>
		<None Remove="dbupdateentrypoint.ps1" />
		<Content Include="dbupdateentrypoint.ps1">
			<CopyToOutputDirectory>PreserveNewest</CopyToOutputDirectory>
		</Content>
	</ItemGroup>
</Project>
- Because commerce is still on net8.0 we cannot yes set the environment variables via the command line so we need to update the following file. If we dont update this the admin will try to start a local vite development server.
src/Admin.Api/Properties/launchSettings.json
{
  "profiles": {
    "Admin.Api": {
      "commandName": "Project",
      "dotnetRunMessages": true,
      "environmentVariables": {
        "ASPNETCORE_ENVIRONMENT": "Development"
      }
    }
  }
}
to
{
  "profiles": {
    "Admin.Api": {
      "commandName": "Project",
      "dotnetRunMessages": true,
      "environmentVariables": {
        "ASPNETCORE_ENVIRONMENT": "local"
      }
    }
  }
}
Update
src/Frontend/config/settings.jsorsrc/Frontend/config/settings-base.jsif settings does not exists yet. Update apiUrl to beapiUrl: "http://localhost:30040"Update
src/Frontend/startDevelopment.js, after the last process.env variable being set add a new variable to the fileprocess.env["OIDC_AUTHORITY"] = "http://localhost:30070";Update
.envfile. Make sure to use your own connectionstring for the database you are connecting to. Make sure your elastic search urls are mapped to the correct version on your machine. You should be able to get cert password fromsrc/InsiteCommerce.Web/config/appSettings.default.config
ASPNETCORE_ENVIRONMENT=local
DB_CONNECTION_STRING=Server=.;Database=ddb;UID=sa;Password=password!;TrustServerCertificate=True;
MAIN_HOST=localhost
Environment__Elasticsearch5ServerUrl=http://localhost:9201
Environment__ElasticsearchNextServerUrl=http://localhost:9200
Environment__CertificatePassword=Password
- Add new file
start.development.cmdon the root of the repository with the following contents
@echo off
cd /d %~dp0
mode con:cols=120 lines=5000
set ROOTPATH=%cd%
set ROOTDIR=%cd%
set FRONTENDPATH=%ROOTPATH%\src\FrontEnd
set STOREFRONTPATH=%ROOTPATH%\src\Storefront.Api
set ADMINAPIPATH=%ROOTPATH%\src\Admin.Api
set DATABASEUPDATERPATH=%ROOTPATH%\tools\DatabaseUpdater
CALL dotnet run --project %DATABASEUPDATERPATH%\DatabaseUpdater.csproj
start dotnet run --project %STOREFRONTPATH%\Storefront.Api.csproj --environment local
start dotnet run --project %ADMINAPIPATH%\Admin.Api.csproj --environment local
cd %FRONTENDPATH%
CALL npm install
start npm run start perficient 30015
cd %ROOTPATH%
Running the solution
Run start.development.cmd which will
- Run the database updater to check if the database needs any updates
- Run the storefront api application in new command window
- Run the admin api and console application in new command window
- Run the spire NodeJS application in new command window
View admin console backend site
To access the commerce backend navigate to http://localhost:30070/admin.
View frontend site
To access the commerce frontend navigate to http://localhost:30020/.
Sample Final Setup running
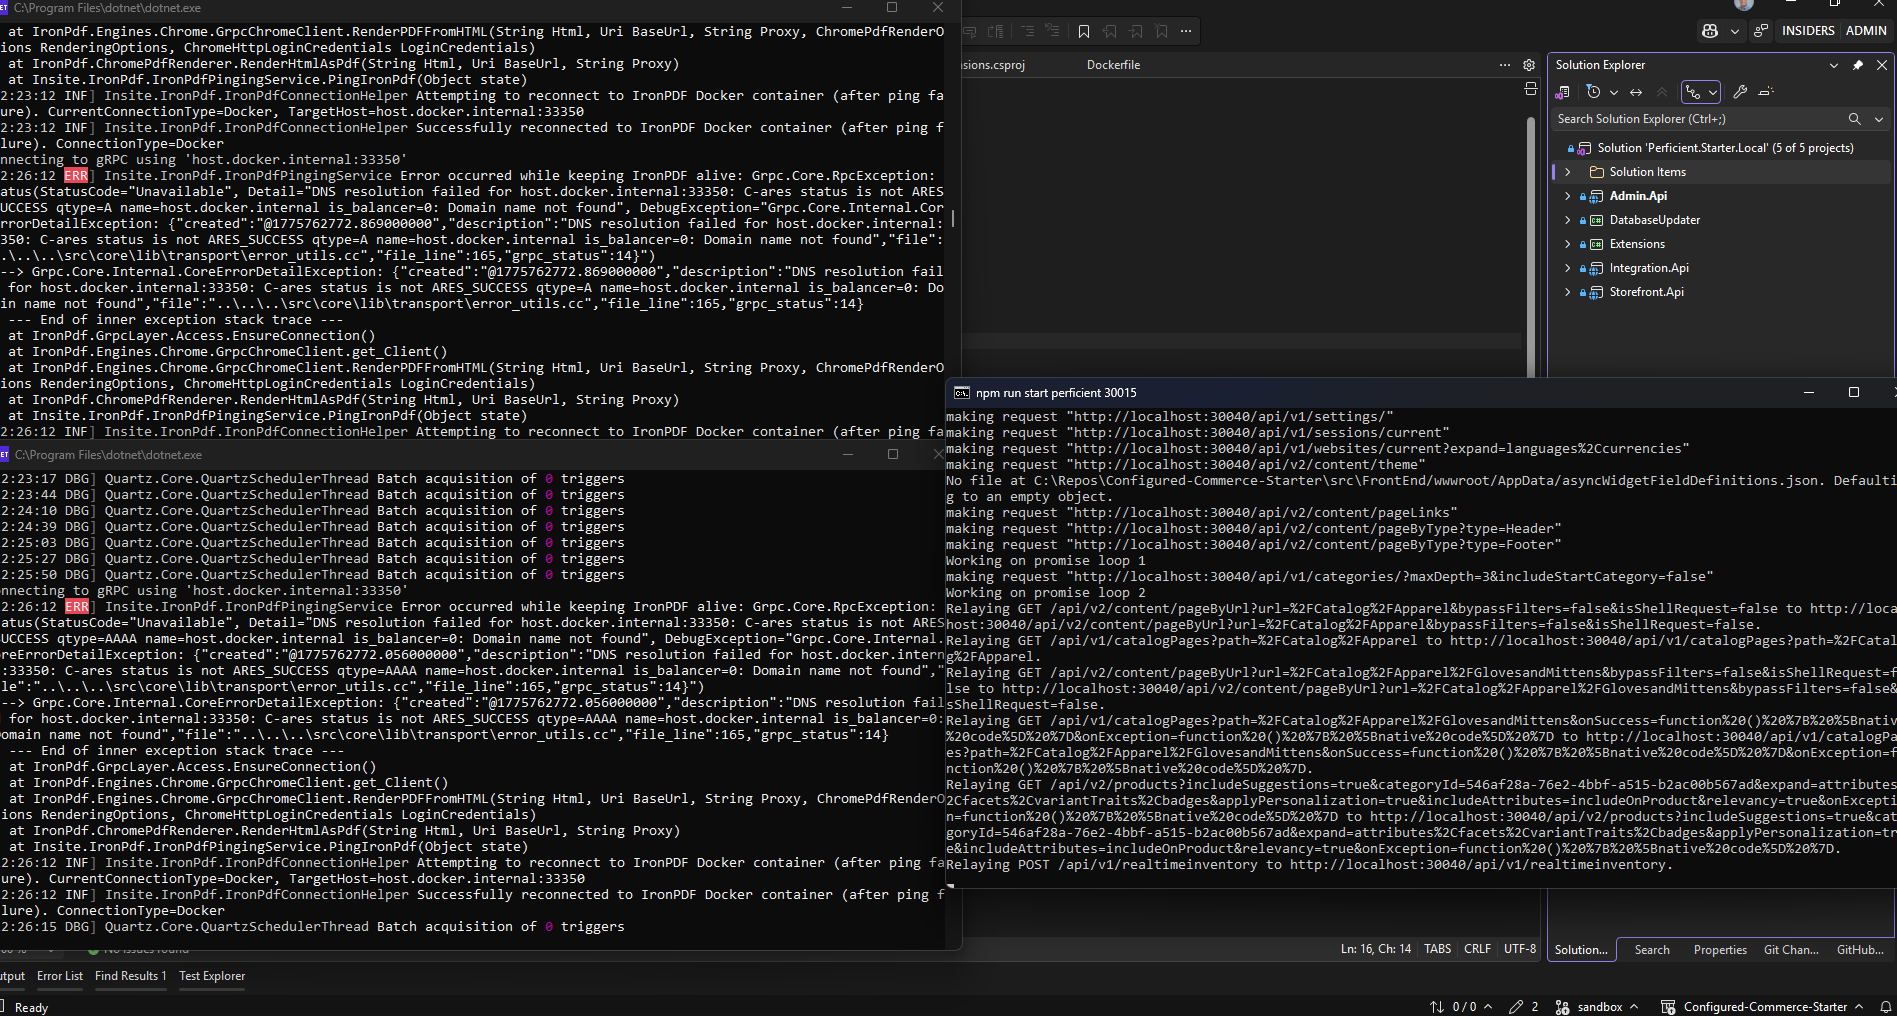
Troubleshooting
If you get error message about localhost being used another classic site check the website table for a localhost domain and remove it.
If you get an error message about cannot find domain localhost, you will need to update your domain. You will need to use a script because the UI does not allow to add localhost. Make sure to update name to your website name.
Update WebSite set DomainName = 'localhost'
where name = 'main'
Tags :
Share :
I am senior solution architect working at Perficient helping brands create exceptional digital experiences for their customers. I am a full stack developer who enjoys the full software development lifecycle. I have expertise in Optimizely, the Azure cloud stack, React, NextJS, CI/CD pipelines, test driven development and solution architecture.